
Last Updated: November 7, 2026
Quick Summary
Phone screen calibration means adjusting your display's brightness, color temperature, and gamma so colors match a known standard. Turn off adaptive brightness, True Tone, Night Shift, and vivid color modes, set brightness to about half, then compare your screen to a white sheet of paper under your normal room light. Finish by viewing a test print under the same light where it will hang.
- Phones cannot load full ICC profiles, so aim for a neutral display instead.
- Let an OLED screen warm up a few minutes before judging color.
- Samsung's white balance R, G, and B sliders come closest to real phone calibration.
- A free white sheet of paper works as your white point reference.
- Reuse one test chart with gray ramps and skin tones to diagnose mismatches.
Table of contents
- Why your phone screen and printed photos never match
- How to calibrate your phone screen step by step
- How to calibrate on Android
- How to calibrate on Samsung
- How to calibrate for free
- When a color calibration app helps and when it doesn't
- Common mistakes that throw off phone-to-print color
- Order your first test magnets from your calibrated phone
- Frequently asked questions
Why your phone screen and printed photos never match
Phone screen calibration is the process of adjusting your display's brightness, color temperature, and gamma so the colors you see match a known standard.
Prints often look a little darker than the photo did on your phone. That comes from how screens and prints make color.
The RGB vs. CMYK difference in plain terms
Your phone glows. Paper reflects.
A screen builds color from red, green, and blue light (RGB). A print builds color from cyan, magenta, yellow, and black ink (CMYK).
That means some bright screen colors simply cannot be reproduced in ink. These are called out-of-gamut colors. Neon greens and vivid oranges are common offenders.
Your phone also pushes saturation and contrast by default. Printers do not.
What phone screens get wrong out of the box
Most phones ship with settings that boost color.
- Adaptive brightness changes your screen all day long.
- Night mode and blue-light filters warm the whole display.
- Vivid or saturated color modes boost colors past reality.
None of these are faults. They just mean your screen is not showing you a neutral reference. And a neutral reference is exactly what accurate printing needs.
How to calibrate your phone screen step by step
Phones lack the deep calibration controls a desktop monitor has. Full ICC profiles generally cannot be loaded into iOS or most Android builds. What you can do is get your display close to neutral, then judge prints under the same light you view your screen in.
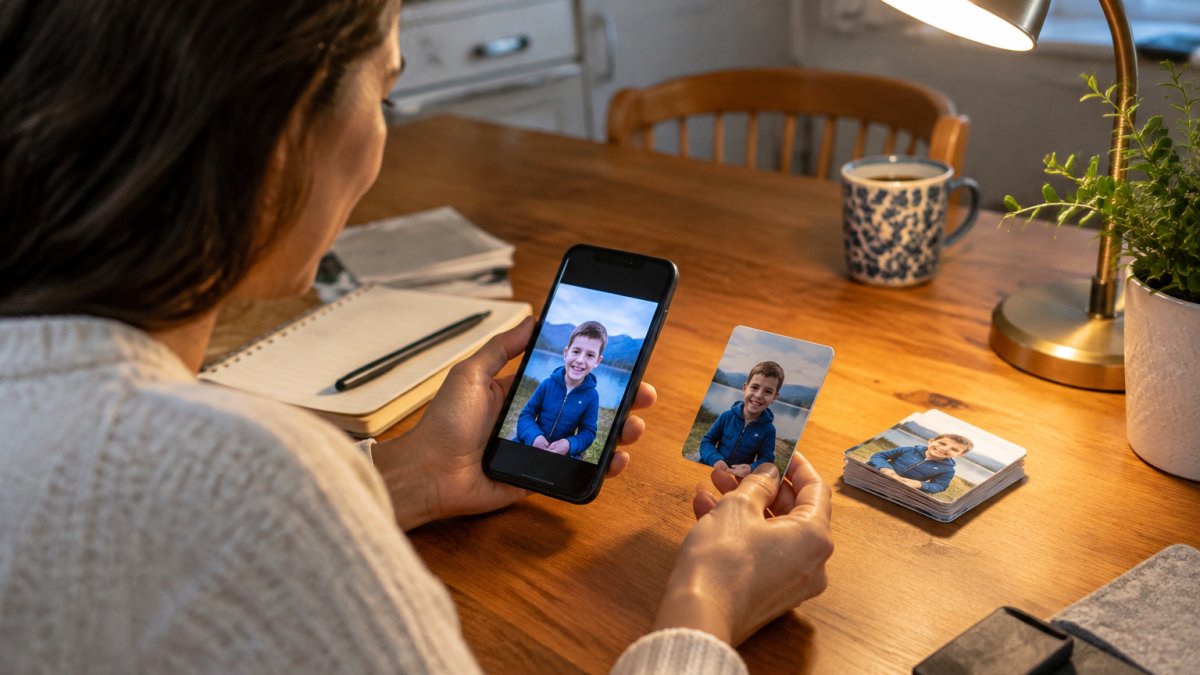
That combination solves most color complaints. Follow these steps in order.
Step 1: Prep your display before you adjust anything
Clean the glass first. Smudges shift color and brightness more than people expect.
Next, turn off every automatic display feature:
- Adaptive or auto brightness
- True Tone or automatic white balance
- Night Shift or any blue-light filter
Set your phone to its standard or natural color profile. The natural profile gives you a steadier starting point for comparing your screen with a print.
Then let the screen warm up for a few minutes before you judge anything. OLED panels shift slightly as they settle, and a cold panel can read cooler than it will after ten minutes of use.
Watch out: leaving auto-brightness on during calibration means the panel can change brightness mid-comparison, which makes every visual judgment unreliable.
Step 2: Set brightness, white point, and gamma
Set brightness to a middle level, roughly half the slider. Too bright and your prints will look muddy by comparison.
Now grab a plain white sheet of paper and hold it beside the screen under your normal room light.
- If the screen looks blue, move the color temperature slider warmer.
- If it looks yellow, move it cooler.
- Aim for the screen to feel like an extension of the paper.
Gamma controls midtone brightness. Most phones hide this setting, so leave it at default unless your device exposes it.
Step 3: Match your viewing light and run a test print
Your print will be judged under room light, not screen light.
View your test print under the same lamp or window light where the magnet will actually hang. If your kitchen has warm bulbs, check the print there.
Then compare screen to print side by side and adjust:
- Print too dark? Lower your screen brightness a little so the screen matches the print, or lighten the photo before ordering.
- Print warmer than the screen? Warm your screen's white point a touch so you're previewing what will actually print.
- Colors look flat? Boost saturation gently in your photo editor, not on the display.
For a full walkthrough of getting images off your phone, see how to print photos from phone. Color accuracy also depends on your paper choice, so read our guide on how to choose the best photo paper for home inkjet printers before your next test.
| Symptom | Likely cause | Fix |
|---|---|---|
| Print darker than screen | Screen set too bright | Lower brightness to mid-level |
| Print looks bluer than screen | Screen set too warm | Cool the color temperature slightly |
| Colors look dull | Out-of-gamut tones | Soften saturation before export |
| Print looks yellow | Warm room lighting | View print under neutral light |
How to calibrate on Android
Android gives you more display controls than iOS, though the menu names vary by maker.
Open Settings, then Display. Look for these options:
- Turn off Adaptive Brightness.
- Set Color mode to Natural or Standard, not Vivid.
- Open Color temperature and nudge the slider toward warm or cool as needed.
- Disable any blue-light schedule during editing sessions.
Some Android builds include a hidden calibration menu. Dialing a manufacturer code can open raw RGB sliders, but the codes differ by phone and model.
A word of caution: raw RGB sliders are easy to misadjust. Change one channel at a time and compare against your paper reference after each move.
How to calibrate on Samsung
Samsung's most useful setting for this is a little buried.
Here is the path on most Galaxy devices:
- Go to Settings, then Display.
- Turn off Adaptive Brightness and Eye Comfort Shield.
- Set Screen mode to Natural.
- Open the Screen mode menu and look for White balance.
- Adjust the R, G, and B sliders while comparing to a white sheet of paper.
Samsung's white balance sliders are the closest thing to real phone screen calibration you will find on a phone. Move them in small steps. A tiny shift goes a long way.
If your model hides the white balance sliders, update your software first. Samsung has moved this menu between versions.
How to calibrate for free
You do not need to spend anything to get a workable result. Free phone screen calibration comes down to three free tools you already own.
- A white sheet of paper as your white point reference.
- Your phone's built-in display settings for brightness and temperature.
- A free test image with gray steps and skin tones, saved to your camera roll.
Display the test image full screen, then compare the gray patches to your paper.
Repeat this in the light where you will view your prints. That single habit fixes more color mismatches than any paid app.
When a color calibration app helps and when it doesn't
A color calibration app can help you set a consistent baseline, but it cannot replace a hardware colorimeter. That distinction matters before you download anything, and it matters even more on a phone, where the measurement chain is limited.
Apps can:
- Generate test patterns and gray ramps
- Walk you through brightness and contrast checks
- Store a profile reminder for your device
And here is where they fall short:
- They cannot measure your screen's actual output.
- They cannot load a true ICC profile into iOS.
- They cannot account for your room lighting.
A hardware colorimeter measures real light from your display. Phone colorimeter compatibility is limited, and most consumer colorimeters are built for desktop monitors.
A repeatable test-print method for diagnosing mismatches
Instead of guessing, build one test file and reuse it every time you change a setting.
Print the chart once, then compare it to your screen under the same light. Work through the causes in this order:
- Display cause: If the gray ramp on screen looks blue or yellow compared with the paper, fix the white point before changing anything else.
- Image cause: If only one photo looks wrong while the chart looks right, the problem is in the image, not the display. Check for heavy filters or clipped highlights.
- Profile cause: If the chart looks right on screen but the print is off in the same direction every time, the print service or printer profile is the likely cause.
- Printer or paper cause: If colors are dull only on one paper type, the paper's coating and ink absorption are the variable, not your phone.
Watch out: changing two variables at once, such as screen brightness and photo saturation, makes it impossible to tell which fix actually worked.
Common mistakes that throw off phone-to-print color
The biggest mistake is judging a print on screen instead of in your hands. Screens glow and prints reflect, so a side-by-side comparison under the same light is the only fair test.
Watch out: editing photos with Night Shift or a blue-light filter active. You will "correct" colors that were never wrong, and every print after that comes out off.
Other frequent slip-ups:
- Choosing photos with heavy filters or extreme saturation
- Skipping the test print and ordering a full batch blind
- Viewing prints under a different lamp than the one near the fridge
Poor photo selection causes many disappointing prints, so our guide on how to choose photos for printing is worth a read before you order. And once your prints look right, learn how do you keep printed photos from fading so they stay that way.
Order your first test magnets from your calibrated phone
Start small. Pick three or four photos, run one test print, and confirm the colors hold up under your kitchen light.
Magnet Stars glossy metal magnets start at $3.99 for a single 2" x 2", so a few test magnets cost very little. Orders over $50 ship free.
If you want a clean walkthrough before you upload, read how to print photos from smartphone.
Frequently asked questions
Can I calibrate my phone screen without a colorimeter?
Yes, for practical photo printing purposes. You can adjust brightness, white point, and color mode in your phone's display settings, turn off adaptive brightness and night mode, and compare a test print under the same lighting. A hardware colorimeter gives a more precise result, but most phone owners get close enough for fridge magnets and family prints by using the built-in controls and a single test print.
Do Android phones have a display color calibration setting?
Many do, though the name varies. Look for Color mode, Screen mode, or White balance under Display settings. Stock Android offers limited control, while Samsung, Google Pixel, and other manufacturers add their own panels. If your phone only offers Vivid and Natural presets, choose Natural or sRGB for photo work, since those modes stay closer to print-ready color than saturated defaults.
Does screen brightness affect how a photo looks when printed?
It does, and it is the most common cause of disappointing prints. A screen set to maximum brightness makes photos look vivid and bright, so the printed version appears dull by comparison. Set your phone to roughly 50 percent brightness, turn off adaptive brightness, and view the photo in the same room light where you will display the print. That gives you a realistic preview.
Can a color calibration app make phone prints more accurate?
A color calibration app can help by guiding you through brightness, contrast, and color balance adjustments, and some offer test patterns for comparison. Free options cover the basics well. Paid apps add more test patterns, but no app can measure your screen or load a full color profile on an iPhone. Treat the app as a starting point, then confirm the result with a real test print before ordering a full batch.
