
Table of contents
- Start with a photo selection workflow
- Check the best photo resolution for printing
- How to choose photo print size and aspect ratio
- How to crop photos for printing success
- Best photos to print from your phone
- Select your print material and finish
- Common mistakes to avoid when choosing photos
- Frequently asked questions
Last Updated: October 15, 2026
Start with a photo selection workflow
Start by setting a purpose: refrigerator, gift, or wall display?
Next, look for clear subjects. A sharp face or focused moment beats a busy background, more than perfect lighting or composition.
Finally, check the basics: Is it in focus? Bright enough to see detail? Does it capture a real moment?
Check the best photo resolution for printing
Resolution is the most common reason a print disappoints: a photo that looks sharp on a phone can print soft when the file's pixel dimensions don't match the print size. Here's how to judge any file before ordering.
DPI vs. PPI: what actually matters
DPI (dots per inch) describes how many ink dots a printer lays down per inch, a property of the printer, not your file. PPI (pixels per inch) describes how many of your image's pixels are packed into each printed inch.
The number that matters for your file is effective PPI, and you calculate it yourself:
Effective PPI = pixel width of the file ÷ printed width in inches
A 3000-pixel-wide photo printed 10 inches wide gives 300 PPI; the same file at 20 inches wide gives 150 PPI.
Resolution quick reference by print size
Use this table to check whether a file has enough pixels for a given print. "Minimum" is the lower bound most labs accept at handheld viewing distance; "ideal" is the 300 PPI target.
| Print Size | Ideal Pixels (300 PPI) | Minimum Pixels (150 PPI) | Typical Use |
|---|---|---|---|
| 2" × 2" | 600 × 600 | 300 × 300 | Magnets, wallet prints |
| 4" × 6" | 1200 × 1800 | 600 × 900 | Standard prints, frames |
| 5" × 7" | 1500 × 2100 | 750 × 1050 | Small frames, gifts |
| 8" × 10" | 2400 × 3000 | 1200 × 1500 | Wall art, portraits |
| 11" × 14" | 3300 × 4200 | 1650 × 2100 | Large frames |
| 16" × 20" | 4800 × 6000 | 2400 × 3000 | Statement wall art |
| 24" × 36" | 7200 × 10800 | 3600 × 5400 | Oversized display |
Most modern smartphones capture at 12 megapixels or more (roughly 4000 × 3000 pixels), clearing the ideal bar through 8 × 10 and the minimum bar past 16 × 20.
Viewing distance changes the math
The 300 PPI rule assumes you're holding the print at arm's length. Step back and the requirement drops fast, because your eye can no longer resolve individual pixels.
A rough working guide many print shops use:
- Handheld (12-18 inches): aim for 300 PPI.
- Arm's length to a few feet (2-4 feet): 200 PPI is usually indistinguishable from 300.
- Across a room (6-10 feet): 100-150 PPI reads as sharp.
This is why a 24 × 36 canvas can look crisp from across a living room at well under 300 PPI. Printing big and hanging high gives more latitude; printing small and holding close gives less.
How to check your file in seconds
On Windows, right-click the file, choose Properties, then Details. On Mac, open the image in Preview and press Command-I. On a phone, most gallery apps show dimensions under "Info."
Divide the pixel width and height by your intended print dimensions. If both meet your target PPI for the viewing distance, order with confidence.
For small formats like magnets, the bar is easy to clear: a smartphone photo carries far more pixels than a 2 × 2 or 2.5 × 3.5 inch print needs.
How to choose photo print size and aspect ratio
Print size and aspect ratio are different things: size is how big the print is; aspect ratio is the shape.
Your phone likely shoots in 4:3 or 16:9. When you print, you're locked into these ratios unless you crop.
Think about where the print will live.
Bigger isn't always better. A small magnet with a perfect photo beats a large print with a mediocre one, so choose a size that fits your space.
Matching size to viewing distance
Where you hang the print matters. A refrigerator photo sits 2 to 3 feet away and gets seen daily; a bedroom wall photo might be 8 feet away.
For close viewing (refrigerator, desk, locker), small prints work great, a 2 × 2 magnet shows detail from arm's length.
A simple rule: if you can see the whole photo at once from where it hangs, the size is right.
How to crop photos for printing success
Cropping is where a good photo becomes a great print, or loses a head, a hand, or the point of the shot. Your camera and print size rarely share the same shape, so understanding that mismatch before you crop saves surprises at the lab.
Why camera ratios and print sizes don't match
Most phone cameras shoot in 4:3 or 16:9, but the print sizes you order, 4 × 6, 5 × 7, 8 × 10, are different shapes entirely.
| Print Size | Ratio | Matches 4:3? | Matches 16:9? |
|---|---|---|---|
| 4" × 6" | 3:2 | No | No |
| 5" × 7" | 5:7 | No | No |
| 8" × 10" | 4:5 | No | No |
| 8" × 12" | 3:2 | No | No |
| 11" × 14" | 11:14 | No | No |
| 12" × 12" | 1:1 | No | No |
| 16" × 20" | 4:5 | No | No |
Almost nothing matches. When you order a print whose ratio differs from your file's, the lab either crops to fit or adds white borders. Most labs crop from the center by default, so an off-center subject can be lost.
What each common print size cuts
What happens when a 4:3 phone photo meets common print sizes, assuming a center crop:
Custom Photo Fridge Magnets – Glossy Metal →
- 4 × 6 (3:2): Trims top and bottom, you may lose the top of the head, chin, sky, or foreground.
- 5 × 7 (5:7): Taller, narrower crop; you lose more from the sides, so group photos suffer most.
- 8 × 10 (4:5): Slightly taller than 4:3, so you lose a sliver from each side, usually the mildest crop.
How to crop deliberately
Crop on your own terms before uploading, so the lab has nothing left to trim.
- Decide the print size first. You can't crop correctly without the target ratio.
- Open your phone's editor and pick the crop tool; lock to the ratio matching your print size.
- Reposition the subject. Drag the image inside the crop frame so your subject sits where you want it.
- Leave breathing room. Keep a small margin above heads and beside shoulders.
- Check the edges. Look for anything you'd regret losing, a hand, a pet, a landmark.
Composition while you crop
The rule of thirds still applies: split the frame into a 3 × 3 grid and place your subject near an intersecting line rather than dead center. It reads as more dynamic and gives you room to crop.
Square (1:1) crops pull attention inward and suit single subjects, faces, and bold moments, ideal for small formats like 2 × 2 and 2.5 × 2.5 inch magnets. 4:3 suits scenes with context: groups, landscapes, rooms. 16:9 flatters wide panoramas but fits standard print sizes awkwardly, so reserve it for matching wide formats.
Best photos to print from your phone
The best photos to print are ones that make you smile, real moments, not posed perfection.
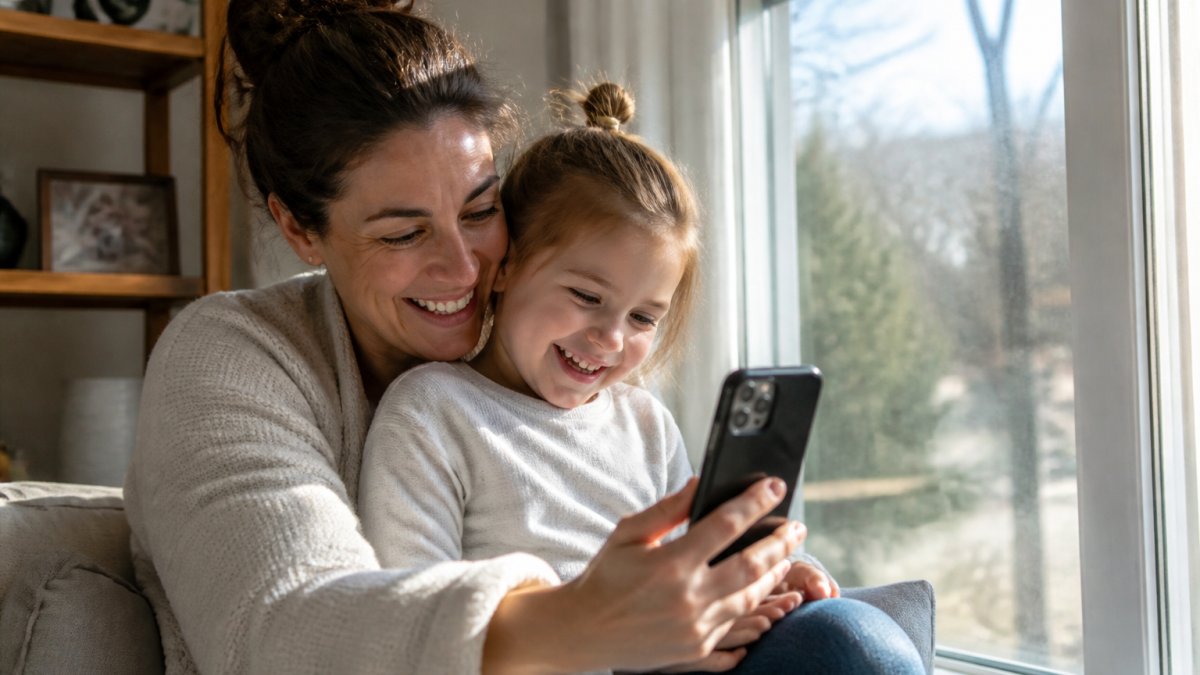
Look for good lighting. Natural window light is ideal; avoid harsh shadows across faces or backlit silhouettes.
Simple backgrounds help too.
Avoid date stamps and color-distorting filters.
Pets and kids make great prints.
Milestone moments matter too: first day of school, birthday parties, family gatherings, vacations.
Select your print material and finish
Your print material and finish change how the photo looks and feels.
Glossy reflects light, so reds look redder and blues deeper.
Matte absorbs light and feels elegant. Colors are slightly softer but still true, and it hides fingerprints, doesn't glare, and forgives imperfect lighting.
Metallic combines both, with depth that makes photos look three-dimensional. It works beautifully for landscapes, sky, and water, and feels the most premium.
For magnets, glossy metal is a popular choice. Magnet Stars' custom photo magnets use a glossy metal finish that brings photos to life with bright, true-to-life color.

Glossy vs. matte vs. metallic finishes
| Finish | Best For | Pros | Cons |
|---|---|---|---|
| Glossy | Vibrant, colorful photos | Bright colors, professional look | Shows fingerprints, glare |
| Matte | Portraits, soft tones | Elegant, hides fingerprints | Colors slightly muted |
| Metallic | Landscapes, dramatic photos | Premium feel, dimensional | Most expensive option |
Think about where your print will live. For paper prints, matte hides fingerprints and glossy shows more color. Magnet Stars magnets come in glossy metal only.
For magnets, the material is metal, not paper, so they won't curl or tear the way paper prints do.
Common mistakes to avoid when choosing photos
The biggest mistake is printing blurry photos.
Printing photos too small for their space is another common error.
Cluttered backgrounds waste the print, your eye bounces around instead of landing on the subject.
Over-editing kills photos too. Heavy filters or saturation boosts may not match your memory, so print photos that look natural.
Ignoring aspect ratio causes frustration.
Printing photos that are too dark or too bright wastes money.
Finally, when you choose photos for printing, don't print every photo.
Frequently asked questions
What resolution should a photo be for printing?
For sharp, high-quality prints, aim for 300 PPI (pixels per inch) at your final print size. A 4x6 inch print needs at least 1200x1800 pixels; an 8x10 inch print requires 2400x3000 pixels. Most smartphone photos taken in good lighting meet this standard. You can check your image resolution in your phone's photo details or by uploading to an online printing service. Lower resolution (150 PPI) works for images viewed from far away, like posters on a wall.
How do I decide which photos to print?
Choose photos that capture genuine moments, clear expressions, or meaningful events. Look for images with good lighting, sharp focus, and a single clear subject, especially if you're turning them into photo magnets or puzzle pieces. Avoid cluttered backgrounds and photos with multiple competing subjects. Ask yourself: Would I want to see this on my fridge every day? Does it make me smile? Start by scanning your phone's camera roll and marking 10-15 favorites, then narrow down to your top 3-5 based on composition and emotional value.
Should I edit or crop a photo before printing?
Yes, cropping before printing helps you control composition and removes distracting elements. Adjust brightness and contrast if your photo looks dull on screen, what you see on your phone may print differently. Most online printing services, including Magnet Stars, include a crop tool in their editor so you can position your image exactly before it prints. Avoid over-editing; stick to basic adjustments like exposure, saturation, and straightening. Save your edited version as a separate file so you keep the original.
What print size should I choose for a fridge magnet?
For fridge magnets, popular sizes range from 2x2 inches to 2.5x3.5 inches. Smaller magnets (2x2) work well for quick snapshots and gift sets, while 2.5x3.5 inch magnets display more detail and work better for family portraits. Consider your fridge space and how far away people typically stand when looking at it. Glossy metal magnets come in 2" x 2", 2.5" x 2.5", 2" x 3" and 2.5" x 3.5", and singles start at $3.99 (2" x 2"). Puzzles come in 2" x 2", 2.5" x 2.5" and 2.5" x 3.5".
Choosing which photos to print shouldn't feel like a burden. With a clear workflow and an understanding of resolution, size, and finish, you'll print photos you love. At Magnet Stars, we make it simple: upload your photo, crop it with our editor to fit your magnet size, and we'll print it in 3 to 5 business days. Our custom photo magnets start at $3.99 each, and orders over $50 ship free.