
Table of Contents
- Start With a Culling Session, Not a Scroll
- Photo Organization Tips for Printing That Save Hours
- Best Resolution for Photo Printing: The Numbers That Matter
- Match the Print Size and Aspect Ratio to the Photo
- Pick Photos by Emotional Impact, Not Technical Perfection
- Prepare Files for Print: Cropping, Sharpening, and Color
- How to Print Photos From Phone Without Losing Quality
- Frequently Asked Questions
Last Updated: September 25, 2026
Start With a Culling Session, Not a Scroll
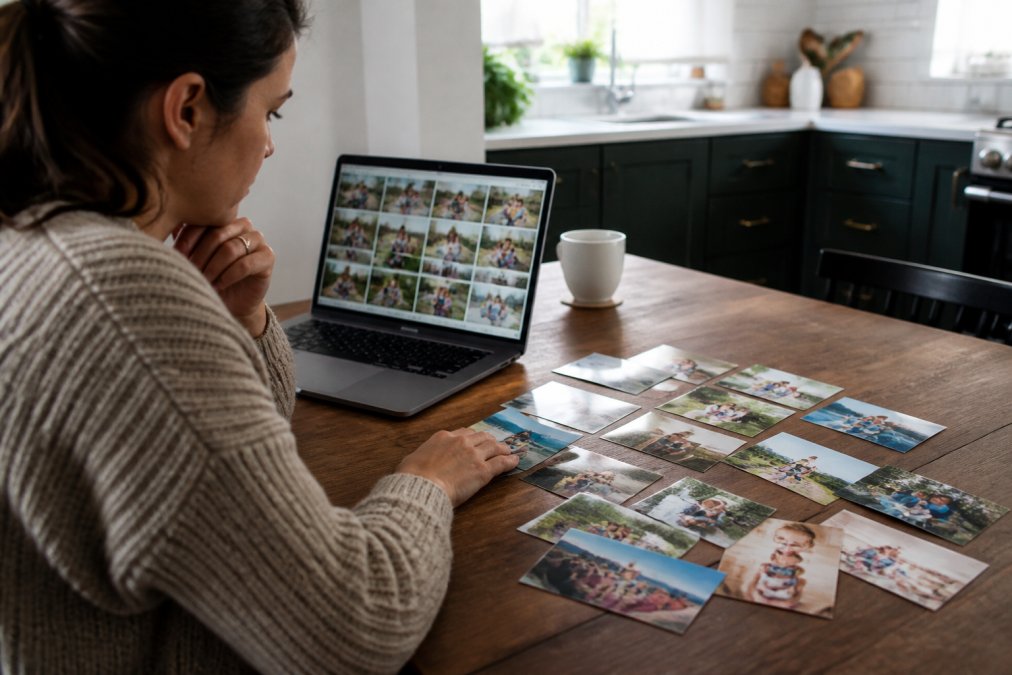
Learning how to select photos for printing starts with a mindset shift: when you select photos for printing, it's a culling session, not a scroll. A culling session means sitting down with one goal, picking the keepers, and stopping. Scrolling means drifting through thousands of images and ending up with nothing.
At Magnet Stars, parents tell us the same thing: "I have 5,000 photos on my phone. How do I pick?" The answer is a system, not willpower.
Set a timer for 20 minutes, open one month at a time, and say yes or no to each photo. No second-guessing, no editing yet.
The Three-Pass Method for Narrowing Thousands Down
The three-pass method cuts a huge photo library down to a short list without getting stuck. Each pass has one job, never do two at once.
- Pass one, delete the obvious no's. Blurry shots, duplicates, screenshots, receipts. Aim to remove half.
- Pass two, flag the maybes. Good moments with imperfect framing. Don't decide yet.
- Pass three, pick the finalists. Choose only photos you would happily hang on a wall.
Photo Organization Tips for Printing That Save Hours
Good photo organization tips for printing come down to one rule: the file should carry its own story. If a photo's details live only in your head, you'll re-sort everything next time.
Here's a folder structure that works for family libraries:
- By year, then event: 2026 > Summer Vacation
- Keep names plain: "Beach Day" beats "IMG_4821"
- One folder per print project: "Fridge Magnets - Fall"
Albums, Folders, and Metadata That Travel With the File
Metadata is hidden information stored inside a photo file, date, camera settings, location. Unlike folders, it travels with the file when you move or share it.
Tag your finalists as you go. Star ratings, color labels, and keywords all work. Then export your picks to a single "Print" folder.
Best Resolution for Photo Printing: The Numbers That Matter
The best resolution for photo printing depends on two numbers: pixel dimensions and viewing distance. Pixel dimensions set the ceiling on print quality; viewing distance sets the floor on what counts as acceptable.
DPI stands for dots per inch, and PPI means pixels per inch.
The Color Space Question Most Guides Skip
Resolution gets a photo to the printer. Color space decides whether it comes back looking like the photo you approved on screen, the step most guides gloss over, and the most common cause of "why does my print look different?"
Three color spaces matter for print:
- sRGB, the default for phone cameras, web browsers, and most consumer print labs. Safe, universal, slightly narrow.
- Adobe RGB, a wider gamut used by many DSLR and mirrorless cameras. Captures more greens and cyans, but looks dull if a lab ignores the embedded profile.
- CMYK, the four-ink model used by offset and commercial presses. Not a working space for photos; it is a destination.
How to Spot a Photo That Will Print Blurry
Zoom to 100% and look at the eyes, edges, and fine texture. If those areas look soft or smeared, the photo will print soft too.
Watch for these warning signs:
- Motion blur on hands, pets, or kids mid-run
- Heavy digital zoom, which adds noise
- Cropped phone screenshots with low pixel counts
- Strong noise reduction that wipes out detail
Match the Print Size and Aspect Ratio to the Photo
Aspect ratio is the relationship between a photo's width and height, written as two numbers like 3:2 or 4:5. Your phone's sensor sets the original ratio; the frame you buy sets the final one.
Standard print sizes and their ratios:
| Print Size | Aspect Ratio | Common Source |
|---|---|---|
| 4 x 6 in | 3:2 | Phone camera default |
| 5 x 7 in | 5:7 | Classic frame |
| 8 x 10 in | 4:5 | Portrait frames |
| 11 x 14 in | 11:14 | Wall display |
| 16 x 20 in | 4:5 | Large wall art |
Pick Photos by Emotional Impact, Not Technical Perfection
The photo that makes you smile usually beats the photo that scores highest on sharpness. Emotional impact turns a print into a keepsake.
Ask three questions about each finalist:
- Does this photo tell a story in one glance?
- Would a grandparent recognize the moment instantly?
- Will this still matter in ten years?
Prepare Files for Print: Cropping, Sharpening, and Color
File prep is where good photos become great prints. Three adjustments do most of the work: crop, sharpen, and color. Get the order right and the rest falls into place.
sRGB vs. CMYK and When to Convert
sRGB is the standard color space for screens; CMYK is the four-ink model used by commercial presses. Most home and online print services want sRGB files, so keep your photos in sRGB unless your printer asks otherwise.
Batch Processing: Do the Work Once, Apply It Everywhere
Most guides walk through one photo at a time. Real print projects involve 20, 50, or 200 files, and editing them individually is where people give up.
- Edit one hero photo from the batch, the one with the most typical exposure and crop.
- Save the adjustments as a preset in your editor (Lightroom, Apple Photos, or most mobile editors support this).
- Sync the preset to the rest of the batch, then spot-check each file.
- Export the whole batch at the same resolution, color profile, and file format.
Archival Longevity: Will This Print Last 10 Years or 100?
Almost no guide answers this, and it matters most for the prints you actually care about, the ones going on a wall or into an album.
- Dye-based inks sit on the surface of the paper. They produce vivid, saturated color but fade faster, especially under UV light. Typical display life is measured in years, not decades.
- Pigment-based inks embed in the paper coating. They are less vivid out of the box but resist fading far longer. Most fine-art and archival printers use pigment inks.
How to Print Photos From Phone Without Losing Quality
To print photos from your phone without losing quality, send the original file, not a screenshot or a chat-app copy. Messaging apps shrink images, and that compression is permanent.
Follow these steps:
- Pick from your print folder, not the full camera roll.
- Export at full resolution. Choose "actual size" or "original quality."
- Use JPEG for standard prints and TIFF if you plan to edit further.
- Keep the color profile attached during export.
- Upload to your print service and preview the crop on screen.
- Order a single test print before a large batch.
The best print workflow is the one you'll actually repeat. Cull in short sessions, organize as you go, prep files in batches, and print small test runs before big ones.
Frequently Asked Questions
How do I choose which photos are worth printing?
Start with the moments you would stop and look at again: a first day of school, a grandparent holding a newborn, a family dinner where everyone is laughing. Technical quality matters, but emotional pull comes first. A slightly soft photo of a genuine moment usually beats a technically perfect shot of nothing. Aim for 10 to 20 keepers per event, then narrow to the five or six you would actually hang on a wall or fridge.
What resolution do I need for high-quality photo prints?
For a sharp print, aim for 300 PPI at the final print size. An 8x10 inch print needs roughly 2400 x 3000 pixels. A 4x6 inch print needs about 1200 x 1800 pixels. Phone cameras from the last several years usually clear these numbers easily. If a file falls short, you can still print smaller, or accept a slightly softer result at the larger size. Check pixel dimensions before ordering.
What is the easiest way to print photos directly from my phone?
Open your camera roll, select the photos you want, and use the share menu to send them to a print service or a custom magnet maker. Most phone galleries let you batch-select, so you can pick a dozen images at once instead of one at a time. Before uploading, check that each photo is at full resolution and not a compressed screenshot. For fridge magnets and small keepsakes, phone photos typically work well without extra editing.
Should I edit my photos before sending them to print?
Light editing helps more than heavy editing. Straighten the horizon, crop out distractions, and nudge exposure or white balance if a photo looks too dark or too blue. Avoid over-sharpening, which can make prints look crunchy. If you plan to print at a lab, keep your file in sRGB unless the printer asks for CMYK. Save an unedited copy of the original so you can always go back if a print comes out differently than expected.